Getting Started
Xenon Vault is the best solution for protecting your Discord server from data loss. If you want to learn more about Xenon Vault please check out the Introduction!
This article will guide through the first steps to setup Xenon Vault for your Discord server. Just go to vault.xenon.bot and follow the steps below.
Creating your Vault
Vaults are a collection of data that you can use to store information from your Discord servers. You can think of Vaults as "Projects" or "Organizations" in other services.
Usually you will have a single Vault for a few Discord servers that belong to the same community or company. Billing happens on a per-vault basis. If you have multiple Vaults you need a subscription for each.
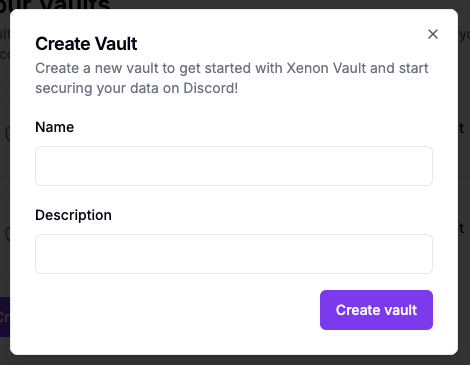
To create a Vault just go to vault.xenon.bot/vaults, login with your Discord account, and click on "Create vault". You can give your Vault a name and description so you can recognize it easily.
Once you have created a Vault you can select it from the list by clicking "Open vault". All further configuration happens inside your Vault.
Choosing a Plan
When you first open your Vault you will be prompted to select a plan. There are some plans you immediate subscribe to or you can reach out to us to get a quote for the Enterprise plan. Please take a look at the overview of pricing plans!
If you have a company please make sure to enter the correct address and tax ID during the checkout process!
Adding Servers
Depending on your plan you can add a number of servers to your Vault. A server can only be assigned to a single vault at once. All information (like Snapshots) of that server are then part of that Vault.
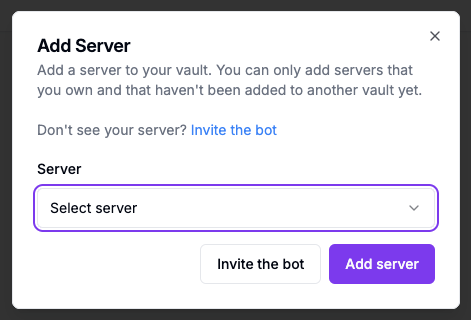
To add a server select the "Servers" page from the Vault sidebar and click on "Add server". If you haven't already, you have to invite the bot to your server before you can add to your Vault.
Right now, you can only add servers that you are the owner of or have administrator permissions in. If you don't have administrator permissions in a server ask someone else to assign it to your vault.
Once you have added a server please follow the Bot Permissions guide to set the permissions up correctly.
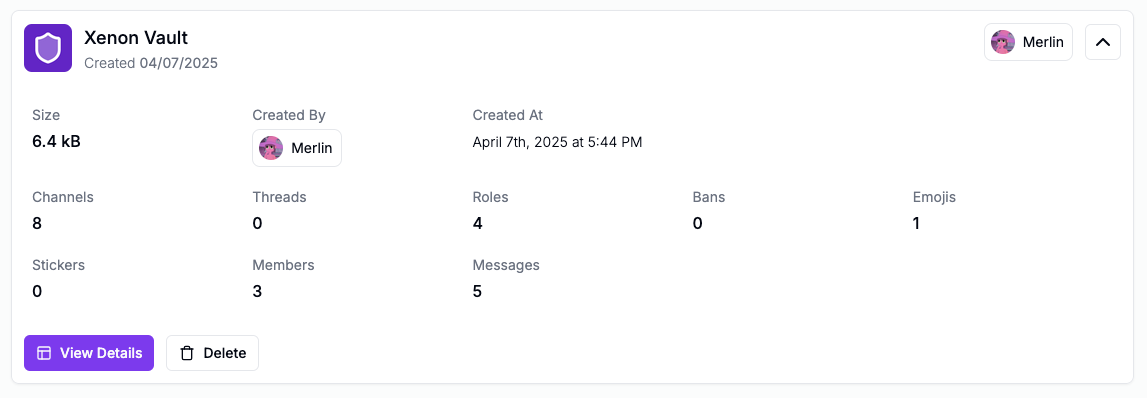
Creating a Snapshot
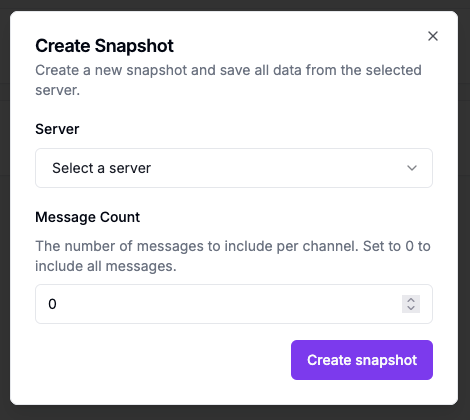
Once you have added a server to your Vault you can create a Snapshot of it. Just select the "Snapshots" page from the Vault sidebar and click "Create Snapshot".
Select the server that you have just added from the dropdown and enter a message count you want to save per channel. This will be the maximum for your plan by default so there is usually no need to change it.
While your Snapshot is being created you can view the status and once it's done the Snapshot will appear in the Snapshot List.
Setup Snapshot Schedules
To make sure your data is up to date it makes sense to setup a Snaphost Schedule. This way you don't have to manually create Snapshot of your server, it just happens in the background for you.
Just select the "Security" page from the Server sidebar and click on "Add Schedule". You can select the server you want the snapshot to be created from, the maximum number of snapshots, and the schedule. One common setup is to create one backup every day and keep the last 7 backups.

In some cases it also make sense to create multiple Snapshot Schedules for the same server. This way you can keep 7 daily backups and 4 weekly backups for maximum security.
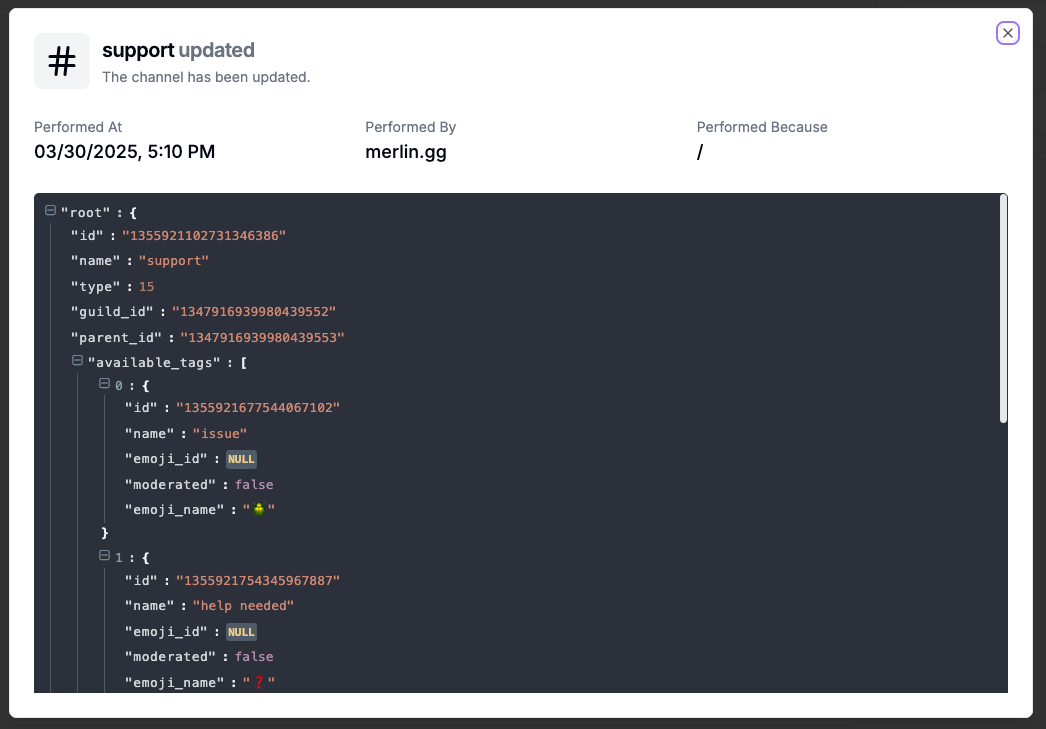
Enable Change Tracking
While Snapshots are a good way to secure your Discord servers against data loss, they aren't sufficient in all cases. Some times you want to be able to view which changes have been made to your server recently and revert them if necessary (soon).
This is possible by enabling Change Tracking on the "Security" page of the Server sidebar. Once it's enable you will be able to view all changes made to your server on the "Tracked Changes" page of the Server sidebar.